
I mean really! They are the easiest, most convenient, handy learning manipulatives you can find. They're fun because they come in a multitude of different sizes, colors, and styles. I even have some that are striped! Not to mention, they're quite easy to clean up as long as you have a magnet close by! What more could you ask for?
In this post, I'm going to share some fun learning activities you can do with your children to strengthen a multitude of learning skills.

Here's a list of fun learning activities to do with Paper Clips!
1. Science Experiments with Magnets!
Children love to use the magnet bar to pick up paper clips over and over again! In fact, we used the magnet bars to pick up some of the magnets that were spread out on a large plastic bin lid before using those that stuck to complete other activities such as counting, sorting, and graphing.
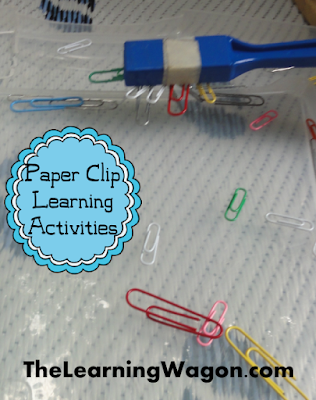
Another way to experiment with magnets and paper clips is to place a few large paper clips on to of a flat large plastic bin lid that is raised off the ground (or table). You can do this by putting a couple of bricks or books under each side. Then, have your child stick their hand under the lid with the magnet bar to try to move the clips around. The bumps and ridges provide learning challenges. Can they get the paper clip back up when it falls down into a hole? Can they move the paper clip around a bump?

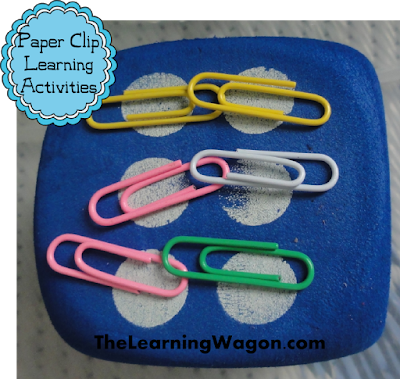
2. One-to-One Correspondance
Have your child roll a large dice. Then, using small paper clips, have your child match up one paper clip to each dot on the dice.
3. Counting
We call this game going fishing! The magnet is the fishing pole and the paper clips are the fish. All the fish are in a lake (a large plastic bin lid). The children hold their magnet over the lake to see how many fish they can catch in one spot. I didn't let my children touch the lake or fish with their rod, they had to hold it over. One reason I made this rule was because it was fun to see. The other reason is because it cut down on the number of fish caught making them more manageable for my four year old to count (9 - 14 fish instead of 30 fish) as they threw the fish back into the lake.
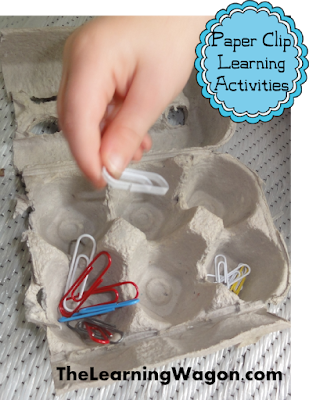
4. Sorting by Color
Again, we used the magnets to collect the paper clips before sorting them into a egg carton, but you could just provide a bag of various colored paper clips for your child to sort them. The magnet is just a novelty that makes it more fun!

5. Sorting by Size
This was done is a similar fashion as sorting by color.
6. Fine Motor Skills
Working with paper clips in general is a great way to build fine motor skills and strengthen finger muscles. Pulling paper clips off the magnet bars, picking up paper clips from a flat surface. linking paper clips together and all skills that require precision from the thumb and forefinger.
****
That's all the activities that we actually did in our learning journey so far, but I have additional ideas for the future when Caleb and Lily Anne are ready for more complex skills.
****
7. Patterning
Using various size or colored paper clips, have your child create papers. Patterns can also be created by placing the paper clips a certain direction (horizontal, vertical, or diagonal). Encourage your child to be creative in their pattern creations!
8. Addition
Provide your child with paper clips of two colors (red and blue) Have your child use the magnet bar to collect paper clips. Then, your child can pull the paper clips off and sort them into their two colors. I would provide a large construction paper where I draw and circle for the first color set (blue), a plus sign, another circle for the second color set (red), and an equal sign. If you laminate the construction paper, your child can use a dry erase marker to write what the two sets add up to.
9. Subtraction
Provide your child with a bag of paper clips all the same color and a bag of number cards. I would also create a mat from construction paper similar to the one above, but with a minus sign instead of a plus sign. Have your child select a number card and place it above the first circle on the mat. Then, have them count out that many paper clips and put them inside the circle. Have your child select another number to place above the second circle. Have your child take away that many paper clips from the first circle and move them to the second circle. Then, the paper clips that are left should be moved to the left side of the equal sign, counted and the number should be written. Allow your child to experiment with taking away from different numbers. Don't tell your child that he can't take 5 paper clips away from 3, let them figure it out through their experiment as well as discussion as to what they are doing and why they don't think they can do that.
****
Really the learning possibilities are endless with paper clips. Teaching fractions, multiplication, and division would be just as fun!
God Bless Your Learning Journey~

No comments:
Post a Comment