
Thanksgiving is just around the corner! Have fun with a turkey craft and lots of learning this Thanksgiving! I often like to incorporate a craft that Caleb and I can create together and then use that craft to enjoy learning in lots of ways. I hope you have fun with these Turkey Ideas!

1. CREATE A TURKEY CRAFT – Enjoy some craft time with your child. You don’t have to create the same turkey as we did. There are many on the internet to choose from. There’s a link below to one site with directions. I would suggest using different colors of feathers so some of the activities below can be done correctly. It’s also best if you laminate any paper parts before putting the turkey together for durability through the activities.
1. CREATE A TURKEY CRAFT – Enjoy some craft time with your child. You don’t have to create the same turkey as we did. There are many on the internet to choose from. There’s a link below to one site with directions. I would suggest using different colors of feathers so some of the activities below can be done correctly. It’s also best if you laminate any paper parts before putting the turkey together for durability through the activities.
Sample Turkey craft activity: http://www.allkidsnetwork.com/crafts/thanksgiving/paper-plate-turkey.asp
2. SORTING TURKEY
FEATHERS (COLORS) – Make sure one feather on the
turkey craft matches the feathers provided, ,so if you have red, yellow, green,
blue, orange, and pink feathers, then those should be the same colors on your
turkey craft. Provide your child with a small bag of feathers and let him/her sort them to the matching
color on the turkey.

3. SORTING SHAPES
TURKEY
– Provide your child with a bag of shapes. Your child can sort one shape onto
each feather. All the circles will go on one feather.
All the squares will go on another feather, etc…

4. TURKEY SOCCER
GOAL
– Using the paper plate turkey craft above would actually work better than the
one we did. I just did a paper turkey and then laminated it. The turkey was a
little flimsy for this activity, but we got it to work. Using masking tape**,
tape 2 kabob sticks to the bottom of the turkey coming out like legs
should-width apart. Make sure the pointy end of the stick is facing down. Stick
the pointy ends into the ground but leave enough room where a small ball can
roll between the kabob sticks. Stand your child a few feet away and have him or
her gently kick the ball through the sticks .

5.
TURKEY CROQUET– This
uses the same set-up as above, but instead of having your child kick the ball,
have him or her try to hit the ball with a small bat, kid’s golf
club, or even just a stick aiming between the sticks.
6.
TURKEY BASKETBALL – Attach your turkey to the
inside of a basket/bucket. Provide your child with a small ball and have him or her
gently toss the ball into the basket/bucket.

7.
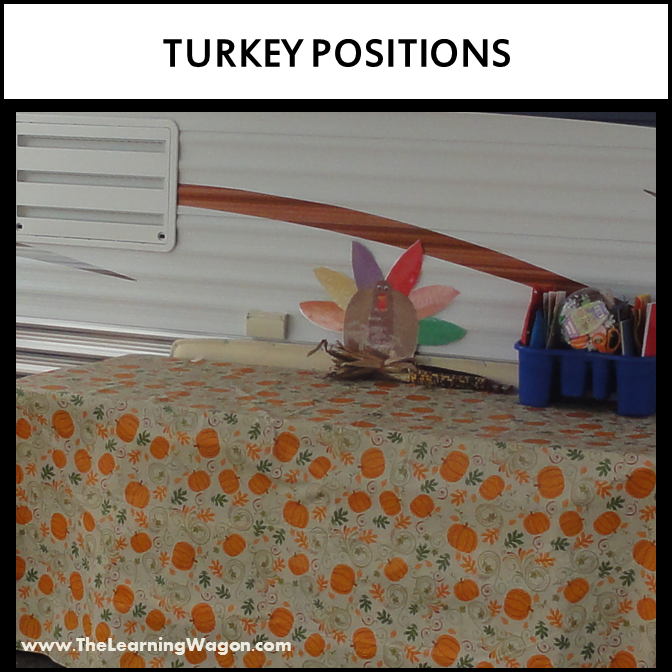
TURKEY POSITIONS – This is a fun activity that
works on your child vocabulary. First,
“hide” the turkey in plain site. Have your child look for the turkey. When he
or she finds the turkey use your vocabulary to tell where the turkey was, “The
turkey was on the table or the turkey was above the chair.” If your child’s
vocabulary is already strong, continue to develop it by asking him or her to
develop sentences to tell where the turkey was hidden.
8.
TURKEY COUNTING (ONE TO ONE)
– Have your child place one block on each feather as he or she counts them. You
can have him or her match up number flashcards with each block as well if he or
she is at that skill level.

9.
FEEDING TURKEY CORN – This is great for building
fine-motor skills. Cut a slit on the turkey’s beak just big enough for a
single corn kernel to fit. You can also
attach a plastic baggie to the back with
masking tape to catch the kernels.
10.
WINDY TURKEY – Attach crepe paper to the end of
the turkey’s feathers and a craft stick to the bottom of the turkey using
masking tape. On a windy day, go outside and have your child hold the turkey up
or wavy it around to see the paper fly!

** I encouraged the use of masking
tape since we are using the same craft for different activities. This will
allow you to put on and take off items as needed.
Do you have any other fun Turkey activities you would like to share? Feel free to post them in the comments! I'd love to get some ideas for next year!
Happy Thanksgiving Everyone!
God Bless your Learning Experiences!

No comments:
Post a Comment